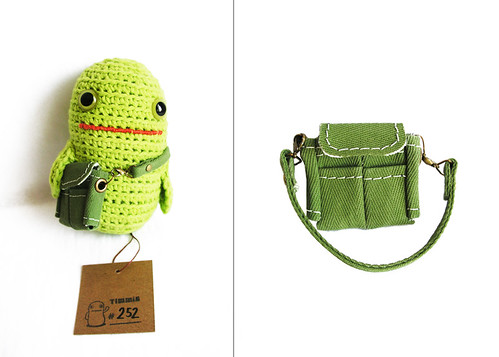
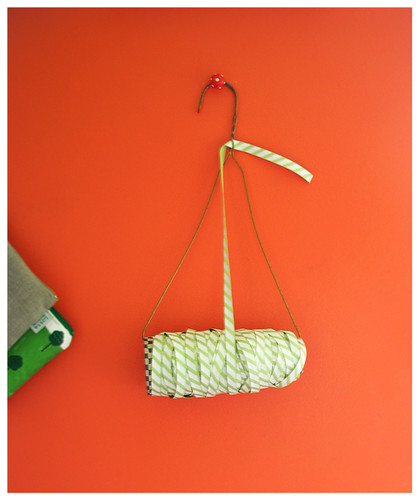
Messenger bag with leather strap
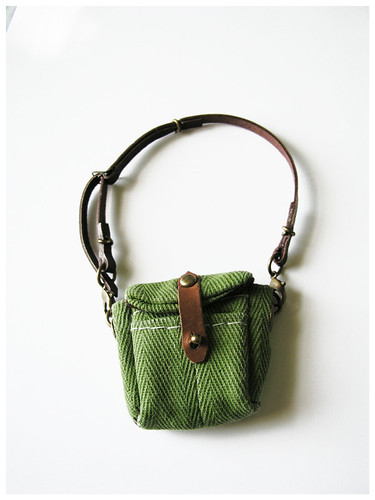
This is the last item for April's shop update. More bags coming in May and by request I will attempt to make a human size version of the Timmie hats.
Here is the link to this bag.


This is the last item for April's shop update. More bags coming in May and by request I will attempt to make a human size version of the Timmie hats.
Here is the link to this bag.

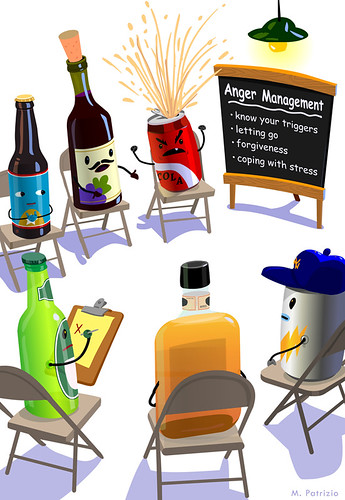
Is it just me or does this case look drunk to you? Next time, less booze for the ipod cozies.
You can find this drunken cozy here.
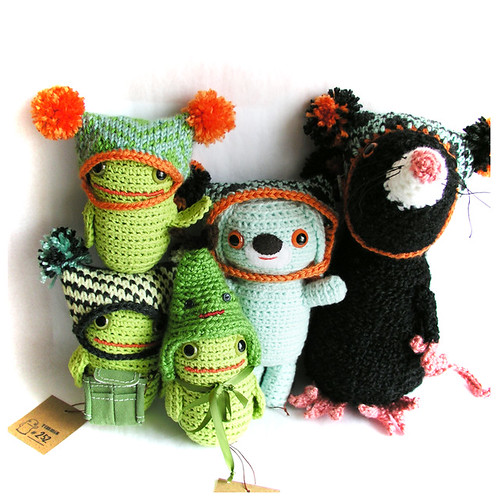
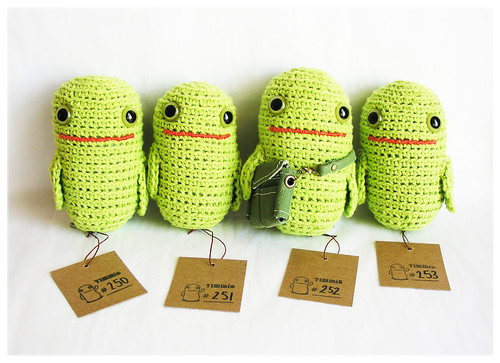
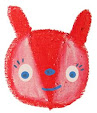
Just added to the shop!
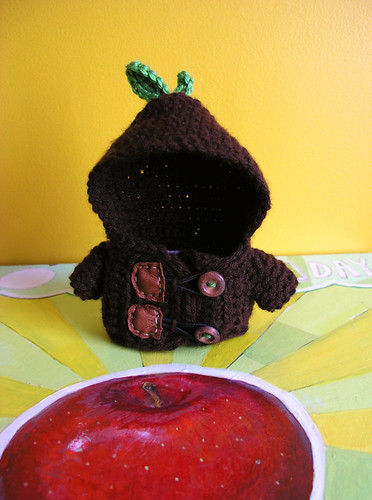
This Timmie will come with a double pocket cotton messenger bag. I am going to make more of these bags to sell separately this week. This first one took me a full day to make, but hopefully the next ones will be quicker!


I just finished adding 20 new items to the shop. Now it is time for a nap, nap, nap. After I wake up I will post some photos of the new items. zzzzzzzz
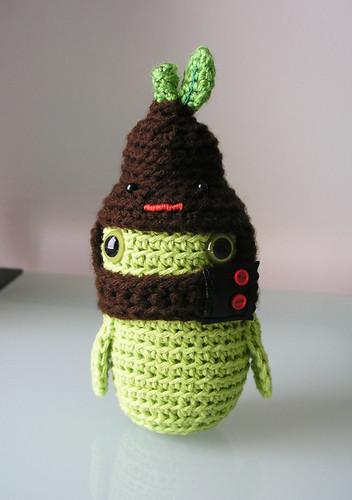
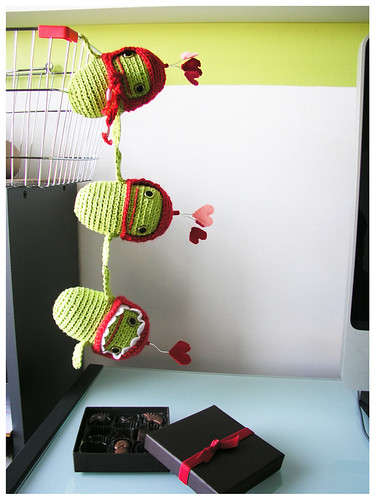
He is there for you when you need to stare and just can't because it is rude, you're busy, or you don't want people to think you're a creep. Just place Stareycakes in your pocket, stand on your desk, or place in the seat beside you on public transportation and he will report back to you everything you've missed from not staring- fashion trends, gossip, a suspicious passenger on the train, etc.
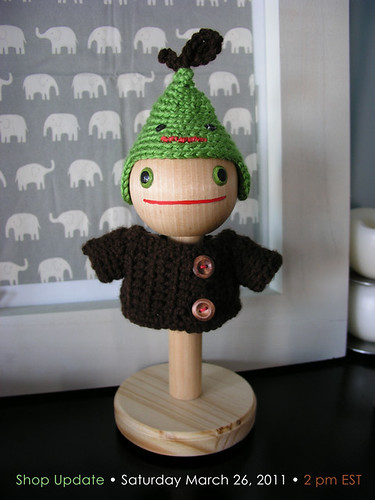
I will be updating my shop next Saturday the 26th at 2pm. I will be donating 20% of all the sales from my shop from now to the end of the month to Give2Asia/ Artists Help Japan.
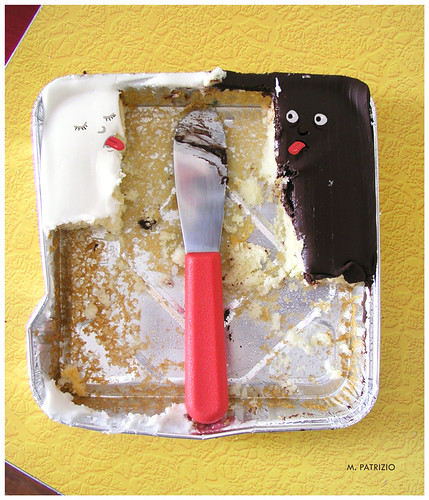
Look at this amazing surprise gift from the super talented Miss Lizzy Cakes! This is art in sugar form! Thank you so much Liz!!!!


You can cut the tension with a knife.
*barumpshoo*
Good news, I was able to end the war by eating them both.
This was an Entenmann's black and white cake. I suggest they stripe the cake, so the consumer can have a little chocolate and vanilla frosting in every portion. Let there be peace on earth and let it begin with ... cake.

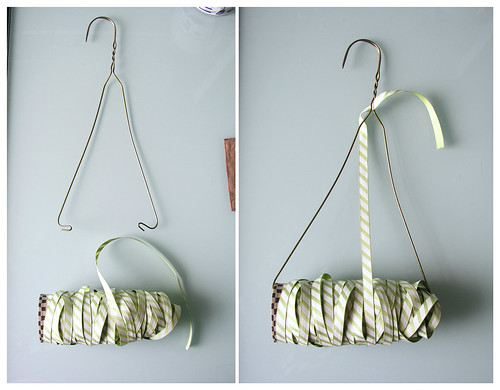
Here's one:
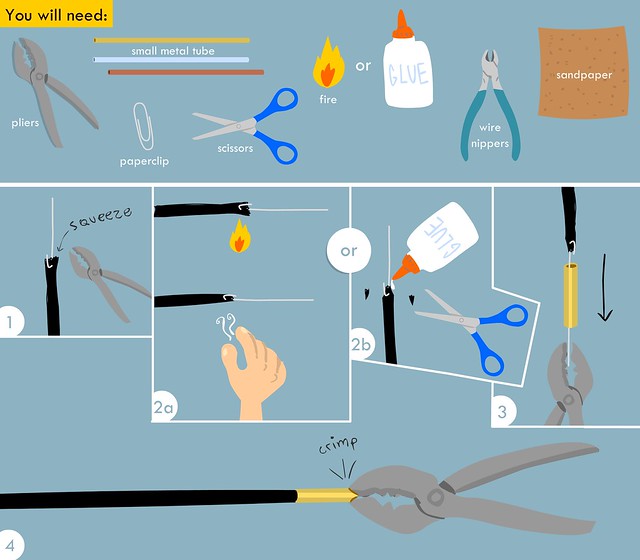
Materials:
-shoelaces that need to be altered
-pliers
-paperclip
-small metal tubing , easily available in brass, aluminum, and copper at craft-hobby-art supply stores. Make sure to get tubing that is smaller than your eyelet size. I used 1/8" brass from K & S Engineering for this project. I found it at a local Dick Blick but it is really easy to find online.
-scissors
-fire ~ lighter and/or glue
-wire nipper
-sandpaper
Instructions:
1. Unfurl the paper clip and turn it into a hook. Push the hook through the shoelace tip and use the pliers to squeeze the hook end for a good grip.
2a. If your shoelaces are made from a synthetic material you can use a lighter to heat up the tip of the shoelace and then use your fingers to taper the ends. Proceed to scream, "ouchy!" cause you just melted off your fingerprints. Don't worry, they will heal. ;)
2b. If you don't feel like burning off your fingerprints or are using a natural material, you can use a scissor to taper the end and add a dab of glue to smooth it tightly together.
3. Pull the hooked shoelace through the tube using pliers. A rotating motion works best.
4. Remove the hook after the lace is completely pulled through. You may need to use the wire nippers to cut it off. Cut or burn off any extra shoelace that is sticking out and crimp the ends with the pliers to secure.
Use sandpaper to smooth out any rough edges.
I used my pliers and wire nippers to cut down the tube, but there are better options. If you want a nice smooth cut, you can use a tube cutter designed for small tubing like this one , a saw, or rotary cutter.
Today I came across two neater ways to secure metal aglets, 1. by crimping it lengthwise or 2. driving a couple of small nails through it to make indentations. I found some photos of that process and other techniques, like heat shrink tubing, on Ian's Shoelace Site.
Antiquing the aglet
I wanted the aglet color to coordinate with the color of the eyelets (antique brass) so I attempted to age it with what I had on hand. I ended up using blue drawing ink and black and dark brown leather dye. I roughed up the tubing with sandpaper before rubbing on the antiquing concoction. My fingers are now a lovely shade of orangey-brown from not using any gloves (not recommended) but I'm pleasantly surprised with the results.
Let me know if you have any questions about this post!
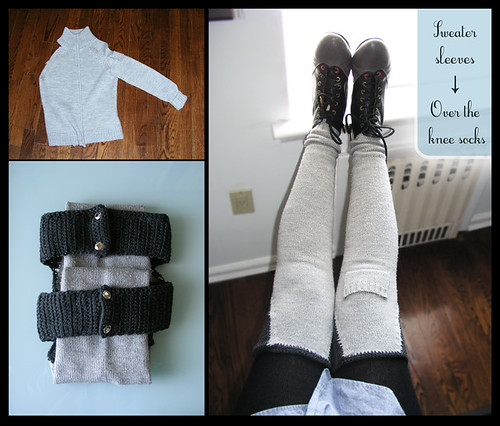
I converted the sleeves of an old itchy wool sweater to over the knee socks. I've been wearing these all week under my pants and they've been keeping my legs nice and toasty.
To make:
1. Cut off sleeves on the shoulder seam line.
2. Crochet around the entire top edge.
3. Put them on and measure around thigh to see how long you have to make each strap.
4. Add fasteners, I used snap fasteners but I think it would look cute with wooden buttons as well. You can make one long strap instead of two and have it button on the side instead of the back.
With the rest of the material I am going to try to make house slippers, maybe felted?
Labels: crafty, experiments, recycled
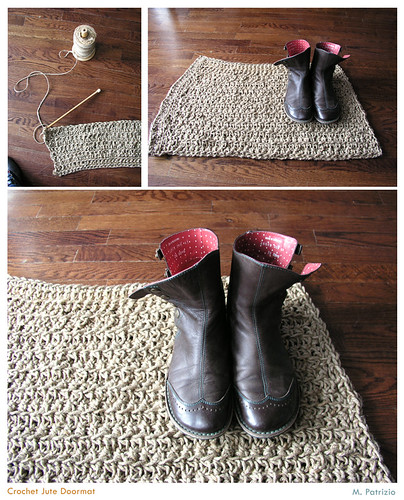
Here's how it looks on the wall.
Labels: recycled


 Locations of the adopted Timmies: